Dried Peppers (and other Produce)
 Whether you’re feeling tired of eating fresh peppers and tomatoes, or you’re starting to worry about the fall bringing them to an end, you will definitely be happy come winter and spring when you have some of this dried deliciousness in the larder for your snacks, soups, chilis, stews and casseroles.
Preparation
Canning produce for the winter is coming back in vogue for the home cook (ha, say all the pioneer folks who have been doing it for years), but it’s a bit of a commitment to purchase all the jars and the pot, and to learn the intricacies of doing it safely and correctly. Blanching and freezing is an easier solution for storing your vegetables for the winter, but let’s not forget the simplicity of dehydrating, which is what we’re addressing here.
You can use your oven for drying, but it takes a bit more babysitting, and dehydrators are pretty affordable. Although you can certainly spend a couple hundred dollars on the luxury versions, for about $35 and the use of a sharp knife and cutting board, you can be on your way to creating healthy snacks and the secret ingredients for super-flavorful dishes come winter.
With just a few guidelines to follow, this process isn’t too daunting, and once you get started, you’ll be exploring all sorts things to dehydrate (hey, it’s apple and sweet potato season!).
– First of all, follow the temperature and timing guidelines on the dehydrator. If you are using an oven to dehydrate, you may be limited to a low-temperature minimum that the oven allows. If this is the case, you may want to read this Food Hack blog on dehydrating food with an oven. For this recipe, I’m referring to the store-bought dehydrator.
– Keep in mind that all dehydrators are created differently, and ambient conditions will have a big influence on the effectiveness of the drying, so find a warm place away from vents and high humidity. Use the instructions on your hydrator, but know that you may need more or less time than suggested.
– Your food is done when it is no longer soft, squishy, wet or sticky. If you stop too soon, it won’t hold; it will mold, and that’s a major disappointment when you’ve gone through so much work. Drying low and slow is better that trying to speed up the drying time by turning it up. It can seal the outer layer and trap moisture in, leading to spoilage. You can’t over dry, but you can under dry.
– Wash and dry your food, and consider using gloves to for cleanliness (I’m not a proponent of anti-bacterial anything, so I’m not going to mention that, but cleaniless is important here). Some recipes suggest blanching certain items before drying, so check the instruction guide that comes with your dehydrator.

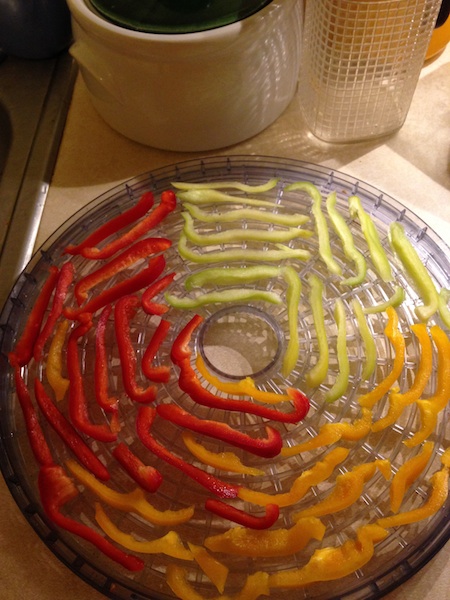
– Cut your produce into strips or slices of uniform thickness–1/4 tops. The thinner the pieces, the faster they will dry. Don’t overcrowd the trays or you will only extend the drying time. The air needs to circulate well for the dehydrator to do its job.
For drying sweet peppers remove the stems and veins; for hot peppers, you may consider leaving the stems and seeds to contribute more heat.

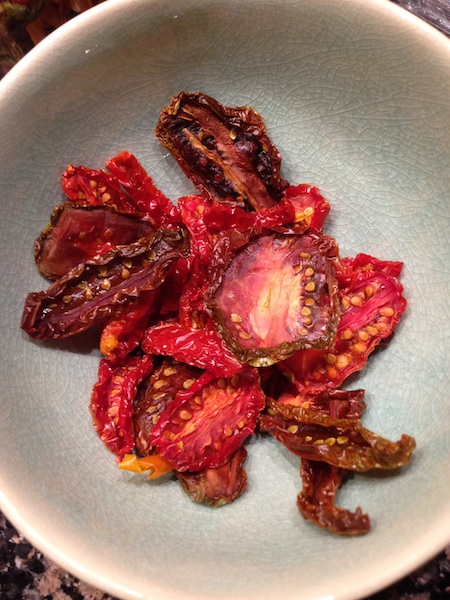
These juliette tomatoes were sliced lengthwise into three slices. Some tomatoes will dry better than others, depending on the amount of moisture in the fruit. Romas or other not-so-juicy tomatoes will be faster and more likely to store well.
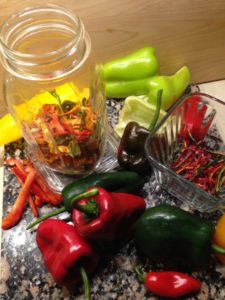
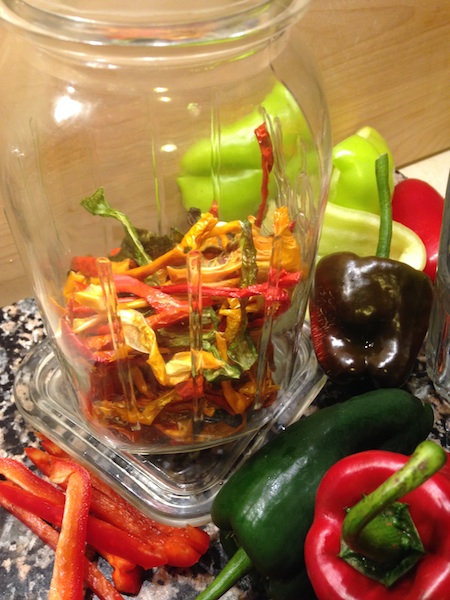
Store your dried produce in an airtight container, like a mason jar, which will allow you to show off your amazing talents to all your friends! Makes a great gift, if you have any friends or family that are worth that much trouble.

