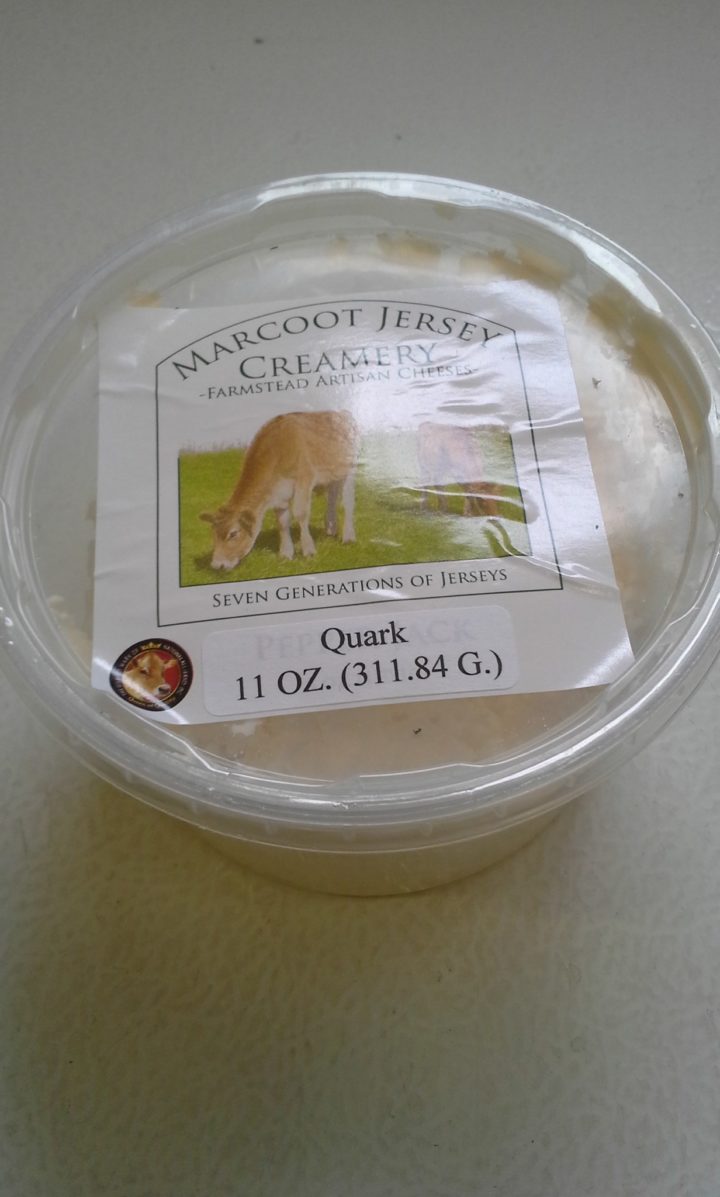
Quark On Your Walls?

We like to put a dab of it on soup or smear it on Companion bagels, but one of our members, Bill in Fair Shares C, told us that he uses Quark as a basis for milk paint. Check out the instructions he emailed us (adapted from WikiHow):


This is how we made paint for the bathroom in the cob house.
 
Milk paint has been around since the time of the Ancient Egyptians. It has become popular again today, because it is environmentally friendly. There are no toxins in milk paint. It is made with all natural ingredients and is, therefore, perfectly safe to use. We used it to paint the bathroom walls in or cob house because it is very durable and water-resistant. 
 
If you want to try to make milk paint for yourself, follow these directions.
 
Materials Needed:
 
Skim milk (or you can substitute unflavored quark)
Lemon (used to curdle the milk and make the quark for the paint base)
Plastic container
Dry color pigment, or artists’ acrylic paint

Cheesecloth and strainer

  1. Purchase a few basic ingredients. You can purchase a quart (0.94 l) of skim milk and a lemon at your local grocery store. You will need to purchase dry color pigment or artists’ acrylic paint from a craft store in the colors of your choosing. You will also need some cheesecloth and a sieve.

  2. Prepare the piece of furniture for painting. Milk paint is great for painting unfinished furniture, but it is also great for painting earthen walls or adding a vintage look to woodwork. It is very durable, so once it dries, it is tough to remove. The surface you are painting (particularly wood surfaces) should be dulled from sanding or roughened slightly, so the paint will adhere well.
  3. Mix the skim milk with the lemon juice. You will need to use the juice of 1 lemon for each quart (0.94 l) of skim milk you add to a bowl. Mix as much as you need for your project. The mixture is going to stay out at room temperature overnight, so that the milk will curd. (Basically you are making quark, so you can substitute ready-made quark if it is available.)
  4. Strain the curd from the milk mixture. You can use a piece of cheesecloth and a sieve to pour the milk mixture through for straining.
  5. Add 4 tbsp. (2 oz) of dry color pigment to the milk curd. If you are using acrylic paint, you will want to add a little at a time until you reach the color desired. You could also adjust the amount of color pigment to your liking.
  6. Stir the color pigment or acrylic paint into the curd. Keep stirring until it is completely mixed.
  7. Apply the paint to the piece of furniture you have prepared with a paint brush. The paint will dry quickly. It will leave behind a very rustic, vintage look resembling colonial furniture.
  8. Throw away any unused paint within 2 days of mixing. It is made from milk, so it will not last long.
  9. Wash any containers and brushes with soap and water. Remember, this is a non-toxic paint, so it is safe to clean these items in your kitchen.
     
    That’s it! Cheers!
     
    Bill


So what do you think? Time to start painting your walls?